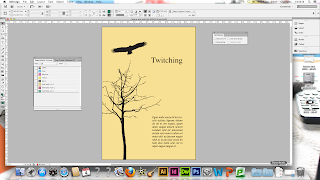
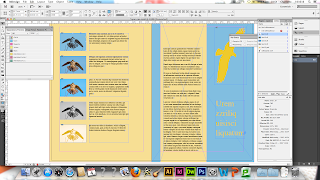
For the final Creative Session, we have been put into Groups of 3 (Emily, Jane and Myself). We have to open a document that has been provided and make this document ready to be sent to the Printer, based on what we have learnt in the previous sessions.
 |
| Errors Document |
We have been told that only 5 inks are allowed as specified by the Printer and that there are 8 errors in total to find. We have to document the errors and suggest how the errors could be fixed.
1. Spot Colours
 |
| Spot Colours |
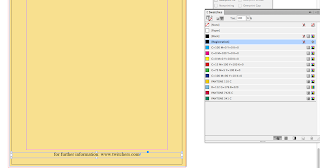
The document is only allowed to have 5 inks (CMYK and a Spot Colour), however there are 2 extra spot colours which are not being used.
 |
| Delete the Spot Colours |
To rectify this, delete the extra 2 spot colours which are not being used off the actual document colour swatch.
2. Bleed Line
 |
| Bleed Line |
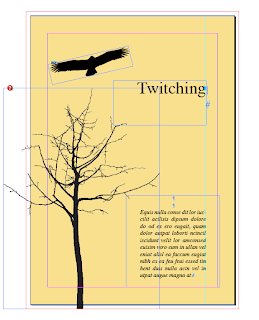
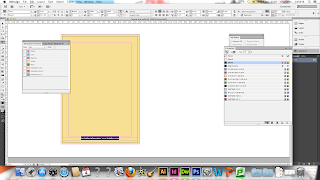
The background colour of the first page does not extend to the Bleed Line.
 |
| Extend to Bleed Line |
In order to change this, just resize the background colour up to the Bleed Line.
3. Image Link
 |
| Illustration Link Missing |
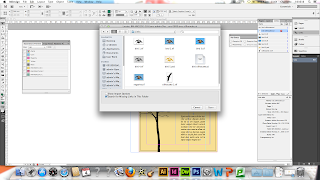
The image to the Illustrator File has a missing link.
 |
| Finding Missing Link |
To correct this, select the image, find the file and re-open in InDesign to reconnect them together. If the image is not available, you would have to contact the designer.
4. Background Colour
 |
| RGB Colour Mode |
The Background Colour being used is an RGB Colour Mode
 |
| RGB to CMYK in InDesign |
To rectify this, I would have to change the colour mode from RGB to CMYK within InDesign.
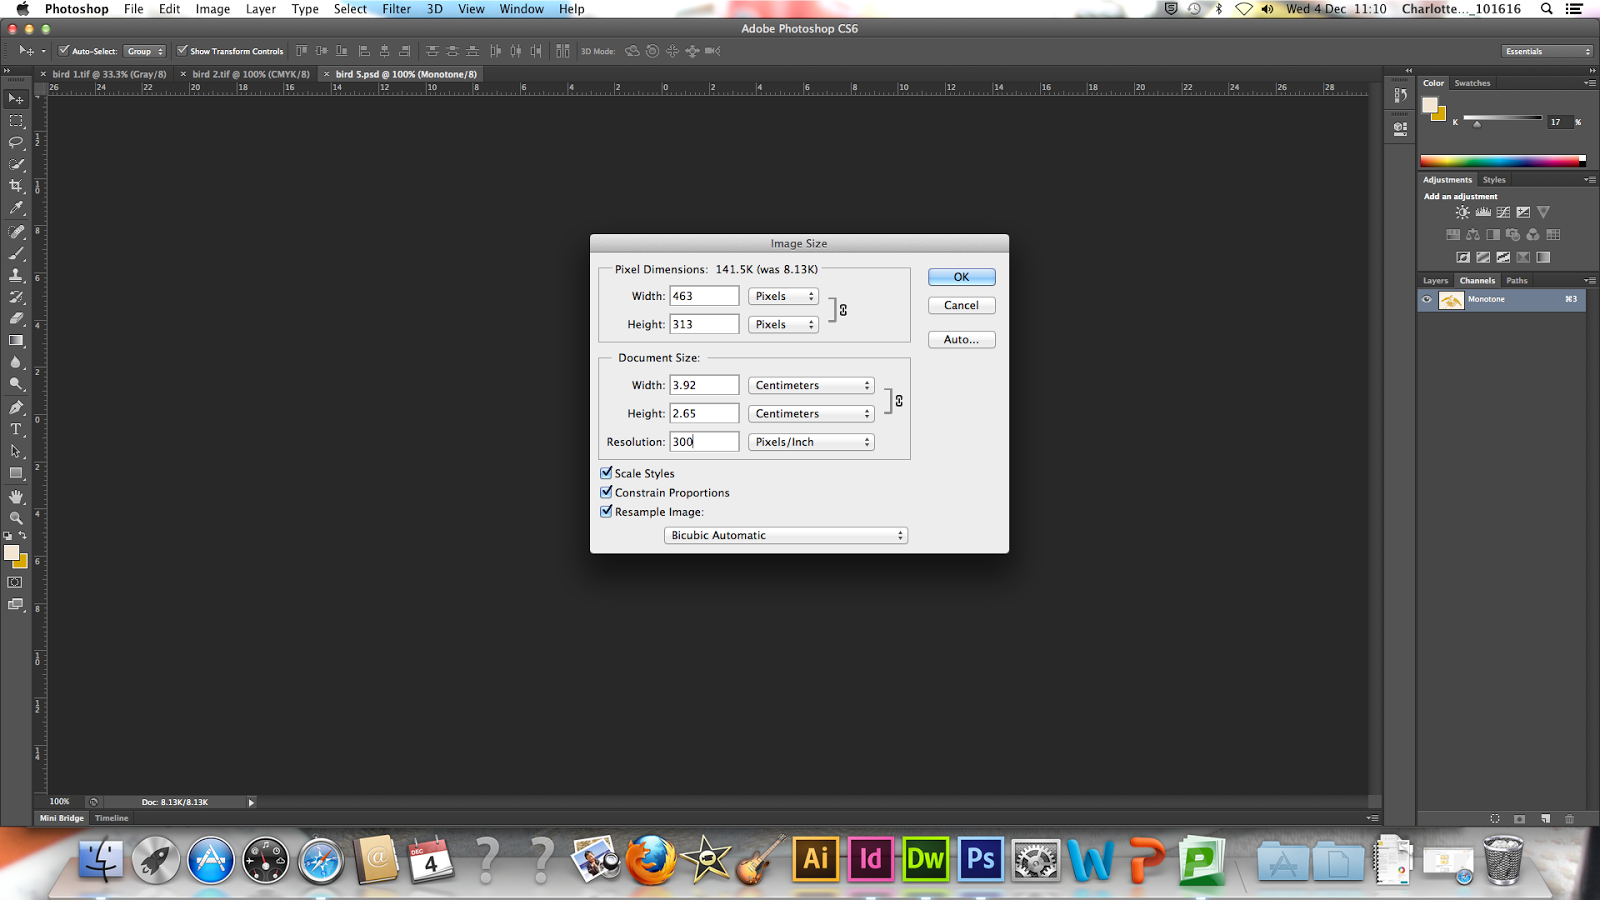
5. Image Size (Too Big)
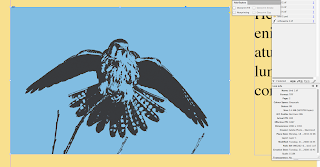 |
| Image Size (Too Big) |
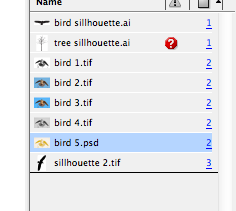
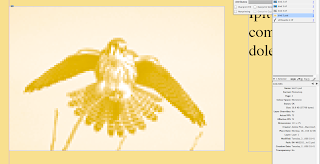
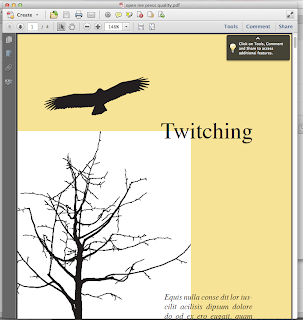
The Image being used is the incorrect size for the actual size it is in as it has been resized in InDesign to 15% of its original size therefore changing the dpi. The 1st Bird image is unneccesarily too big.
 |
| Change Image Size in Photoshop |
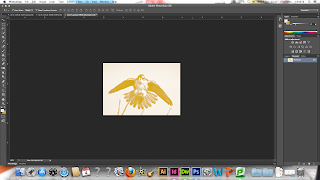
To correct this, resize the image in Photoshop to the exact dimensions that it needed and it will auto correct itself within InDesign.
6. Colour Mode
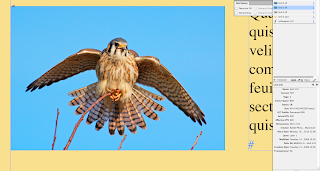 |
| Incorrect Colour Mode |
The Colour Mode for the 3rd Bird is incorrect for Print as it is using RGB.
 |
| Open in Photoshop |
To correct it ready to print, it needs to be changed to Colour Mode CMYK.
7. Image Resolution
 |
| Incorrect Image Resolution |
The resolution that has been used for the image is 72dpi which is incorrect for Print.
 |
| Changing Resolution |
To correct this, you need to change the image to 300dpi. Despite this, if it has been taken off the internet then it wouldn't be able to change this.
8. Registration Ink
 |
| Registration Ink |
The amount of ink being used is over 300% so the Ink Limit has been exceeded. This is due to the designer using Registration Ink which has all ink colours within it.
 |
| Change to Black Ink |
To correct this, you can change the Ink colour from Registration to Black.
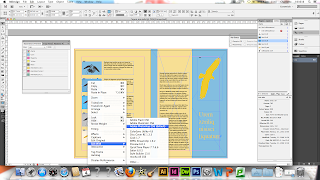
Pre-Flighting:
In order to be able to send all of our work to the Printers, we need to make all of these necessary checks which is called Pre-Flighting. There are 2 ways in which we can send our work to the Printers but it is good to make sure that you have a discussion with them first.
 |
| Package |
One way is to send all the work in a Package. A package is a file which includes all of the fonts and images that you've used and everything needed to print.
 |
| Press Quality PDF File |
Another method is to create a Press Quality PDF File which is the highest quality needed for Commercial Printers. This is good as it includes all of the fonts and images within the File as well.