I was looking forward to the InDesign Induction as I have never used this program before so I knew that I would be able to go to these sessions with a lot to learn and hopefully come out with the basics of a new skill.
Week 1 Induction:
InDesign is used for Layouts when making documents that combine Images and Text or have large multiple amounts of pages, like Magazines and Publications.
New Document
When making a New Document, you have to select the exact size document that you want to make and have to consider the border size that you want for your document. You can add columns and margins as guides for when you layout your document in order to make everything equal and even. By putting a 'Bleed and Slug' border around the document, it allows for a border to trim down from so its ideal to add 3mm border to each page
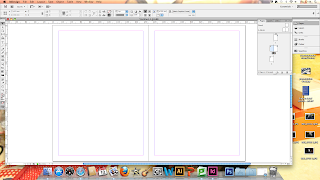 |
| Making a Facing Pages Document |
By making a 'Facing Pages' document, it allows for the user to make a document that needs a double page spread and have pages face each other, which is suitable from leaflets. You can create these by adding pages using the Page Swatch in the corner and adjusting the amount of pages wanted accordingly.
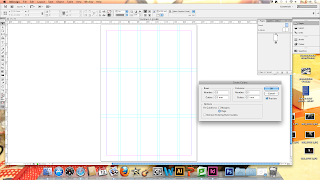 |
| Create Guide Lines |
By adding Guide Lines, it can produce margins and columns that will aid the structural presentation of the layout of the document. Just select 'Create Guides' and select the amount of columns and margins wanted which you can preview to make sure it is reflective of what you want. Guides can also be made by dragging them down from the side rulers.
Text
Any text content that it put into the document has to be kept in frames.
 |
| Text Tool Frame |
In order to put text in the document, you need to put in a text frame which is by using the 'Type' tool and drawing a sizable text box.
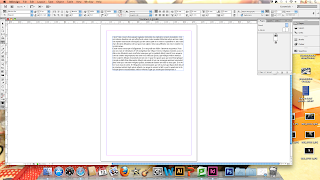 |
| Adding some Placeholder text |
If your wanting to determine what the body copy will look like if you haven't got the neccessary text then you can add some temporary words by selecting the 'Fill with Placeholder Text' option.
 |
| Changing the Font Characteristics |
Once you have added in the block of text, you can manipulate the text by highlighting the area you want to change and using the formatting options available in the top margin. You can change the font, font sizes and margin sizes.
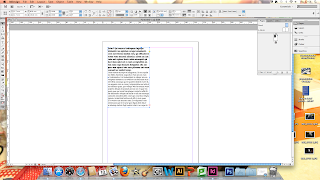 |
| Direct Selection Tool |
Using the Direct Selection Tool, you can move the text box from one place to another and manipulate the size and shape of the text box so that it fits with the rest of the layout.
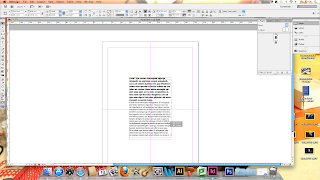 |
| Centered Column Placement |
When the object is being moved by the Direct Selection tool, if it has become central then some grid lines will show up which emphasis the positioning for the user to make sure it is in the correct alignment.
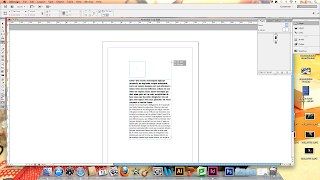 |
| 2 Text Boxes Same Alignment |
When you have 2 objects that are next to each other or want to be the same size, a green line will come up and make sure that the user can see where the dimensions are for the boxes so that they are the same ibn width or height. This aids the need for consistancy in publications.
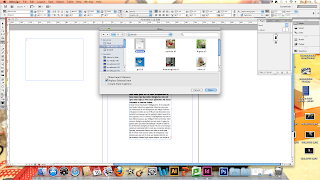 |
| Choosing Placing Text |
When you want to import a block of body copy text into the document that you are formatting, you have to create a ready made text box for the words to go in.
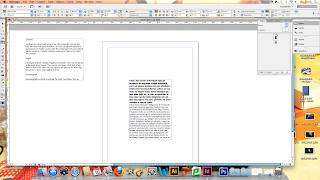 |
| Placed Imported Text in Ready Text Box |
Then you import it by going into file and place before selecting the document you need and importing the information in.
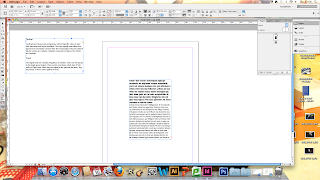 |
| Overflow Indicator |
The red dot on the text box frame is the overload indicator which states whether the amount of text is too much for the size of the text box.
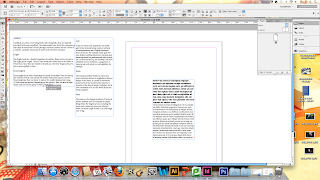 |
| 2 Text Boxes using Overflow Indicator to move Text |
If you want to work with a piece of text but don't want to get rid of everything, you can make a new text box and by clicking on the red dot, move the text from one box to another. By clicking the bottom of the original frame, you can scroll the opposite frame down automatically, as if the text is moving by itself.
Images
For Photoshop Images and Photographs, an already made frame is not needed whereas for Illustrator files, a pre-made frame needs to be made.
Photoshop Images
Images from Photoshop have some consideration that need to be taken into account:
- Image size needs to be actual size for InDesign Document
- make suren it's in CMYK or Greyscale Colour Mode
- It needs to be 300dpi (Dots Per Inch)
- Images to be saved as a .tif or .psd but NOT .jpg
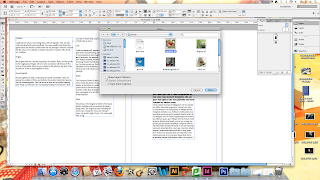 |
| Choosing Photoshop Image to Place |
By going into file and then place, you can select any Photoshop image to put into the document.
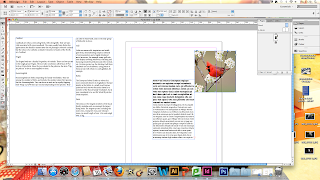 |
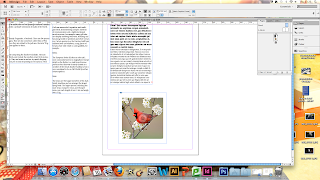
| Placed Photoshop Image |
The Photoshop images doesn't have to specifically go on a certain place. The image will firstly come up small and attatched to the curser then when clicked on will expand to the original size of the file, creating its own InDesign frame.
 |
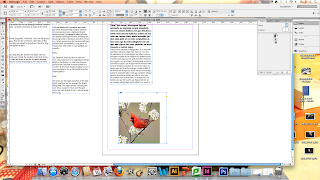
| Content Grabber |
In order to be able to manipulate the image if neccessary, you can select the circle icon in the centre of the image which is the Content Grabber. It allows you to move the picture around to get it in the right place.
 |
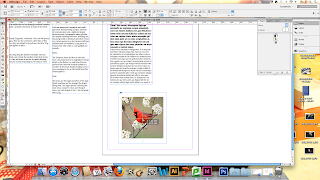
| Changing size of the Image |
By selecting the blue frame around the image, you can scale the size of the frame or you can crop images within InDesign by making the frame smaller.
 |
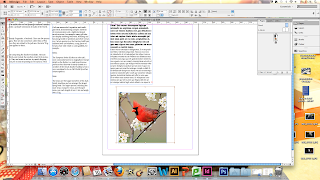
| Making Image Central |
By moving the blue frame, you can make the image central to the frame.
 |
| Scaling up Causes Pixelation of Image |
The problem with changing the size of an image when in InDesign is that it effects the quality of the image as it causes pixelation as shown by the expansion in the image in the print screen.
Illustrator Images
Images from Illustrator have some considerations that need to be taken into account:
- Needs to be CMYK Colour Mode
- Needs to be saved as a .ai file
 |
| Rectangle Frame Tool |
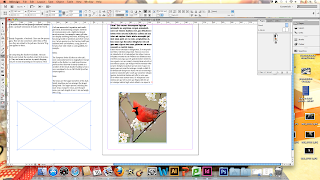
In order to add an illustrator image file into the document, you need to create a frame using the Rectangle Frame tool.
 |
| Choosing Illustrator Image to Place |
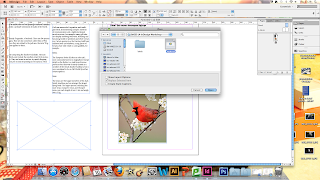
By using file and place then selecting the Illustrator image, you can add in an any-sized illustrator file to the document
 |
| Placement of Illustrator Image |
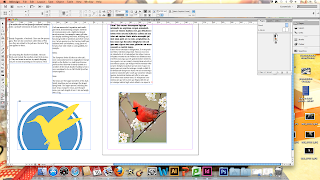
Due to the size of the file being irrelevant when it comes to Illustrator images, the size of the rectangle frame might be too small or too big.
 |
| Changing the Size and Placement of Illustrator Image |
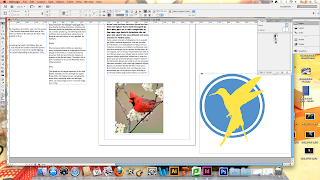
You can change the size of the file to match the size of the image by enlarging or minimizing the size of the blue frame.
After going through these exercises, we were encouraged to use the last few minutes just to put into practice what we had been taught so far.
 |
| Own Experimentation Attempt |
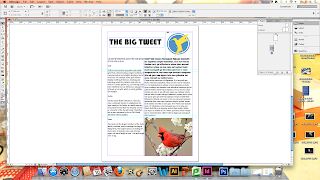
I managed to produce a rough layout version of a newspaper cover based on the things we had already created within the workshop. I'm quite impressed because, even though it isn't a very good cover, I'm proud of how quickly I managed to grasp some of the concepts and found it easier to use then some other Programs.
Week 2 Induction:
We followed on from last week by continuing using the same file.
Image Quality
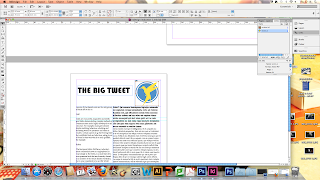
When we put an image into InDesign using 'File' and 'Place', we import only a small, low resolution piece of the image called a 'Preview'. The purpose of the low resolution image is because you usually only focus on establishing a layout using InDesign. plus, you don't want the software to slow down when you are making a document with a lot of images being used.
 |
| 'Link' of a 'Preview' Image |
To establish a connection between the image and the InDesign file, you create a 'Link'. You can do this by opening the 'Links' palette and it shows you the location that the image is from and the page number that the image is located. When an image is lost, it will come up with a red '? ' which will take you to your files to look for the missing image. So this doesn't happen, it is best to keep all the InDesign files and photos in one folder.
 |
| Changing to High Quality Image On-Screen |
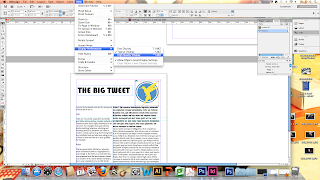
By using 'View' and selecting the 'Display Performance' option, it allows for the user to see the improved, print-quality version of the image to instantly improve on-screen.
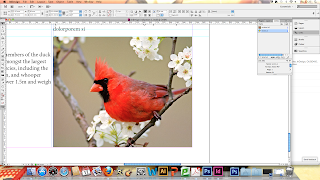 |
| Improved Quality Illustrator and Photoshop Images |
This will allow the user to see the images crisper and clearer like they would be seen when they are printed.
Scaling Image
 |
| Unprepared Large Scale Image |
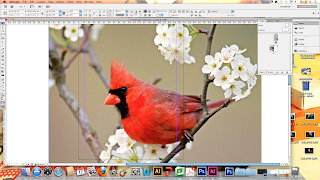
The size of an image should be already done exactly in Photoshop before the image is put into InDesign but it can be changed anyway.
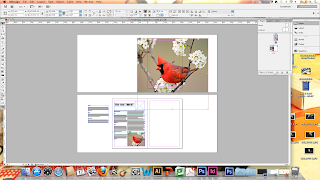 |
| Changing size |
You can change the size of an image on InDesign by selecting the image by holding down the shortcut Apple & the Minus sign.
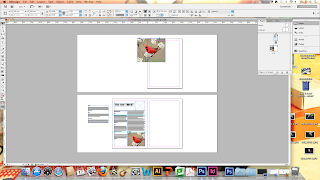 |
| Small size wanted |
By holding down the shift key with the image selected, I can change the size of the image itself and the frame that it is held in.
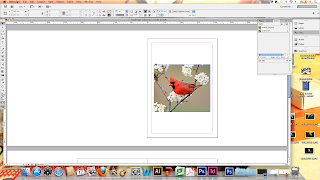 |
| Wanted image size in wanted area |
This means that you can change the placement of the image and have it at the size that you want, in the area that you want.
 |
| Placing into Photoshop |
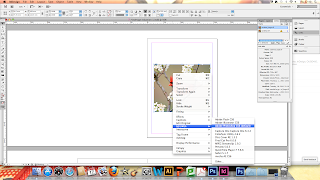
You can put an image into InDesign and if you find that it is too big or small then you can put it back into Photoshop. This is an important tool as it makes the images interchangeable. You need to make a note of the percent scale of the image that you have so that you make it the exact size that you want. Then select the image, right click on top of it and select the 'Edit with' option which should come up with a Photoshop option. A keyboard shortcut for this is Alt and a Double Mouse click.
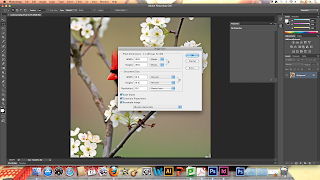 |
| Changing Image Size |
In Photoshop, you can change the image size by selecting 'Image' and then 'Image Size'. In order to have it the same size as you want, you change the pixels to percent and put in the percentage scale that you wanted.
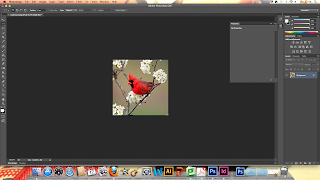 |
| Size Change |
This will mean that the image size will change automatically to the size that you want and will correspond to the image in InDesign.
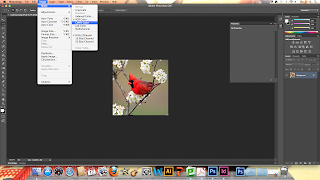 |
| Changing to CMYK |
So that it works for print, you need to prepare the image by making sure it is in CMYK Colour Mode. You can do this by selecting 'Image' then 'Mode'.
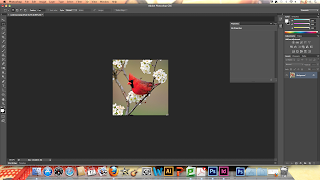 |
| Changed from RGB to CMYK |
This image has changed to CMYK so you can see what the image will look like and the quality of it when it is printed out.
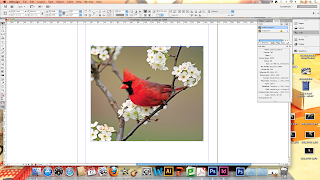 |
| Automatically Updated to 100% |
When you close out of Photoshop, having saved the image, the image will automatically update so that it is of 100% scale and in CMYK colour mode.
Transparency
It is necessary to be able to prepare an image before it is put into InDesign and one aspect of that is making an image transparent.
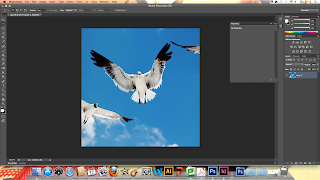 |
| Layer 0 |
By opening the image in Photoshop, you can change the transparency by selecting the original background layer that the image is on and double-clicking on it, changing t from the Background layer to something called 'Layer 0' which prepares the image and layer itself to be able to become transparent.
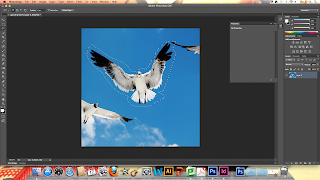 |
| Draw around image |
Using the 'Lasso' tool, you can draw around the part of the image that you want so that you can get rid of the unwanted areas of image.
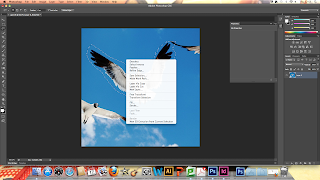 |
| Inverse |
By right-clicking the area you've drawn around, selecting the option to 'Inverse' will create the image to become transparent.
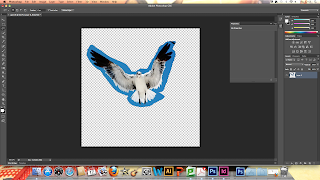 |
| Deleted Background |
The 'Inverse' option will select the unnecessary area and by deleting it, will get rid of the whole background area.
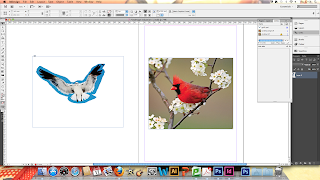 |
| Image in InDesign |
That way, when you place the image into InDesign, it will come up with the image being transparent without the background.
Frames
Frames are necessary to the ability to put things into an InDesign file as everything needs to be put into a frame.
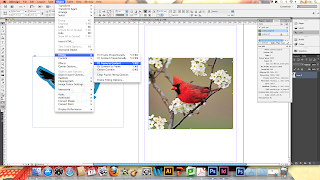 |
| Changing Frame |
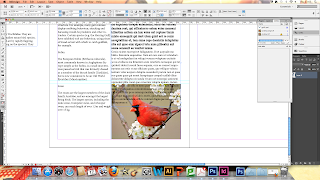
To change the frame so you are able to have it fit exactly to the frame rather than away from the frame, you can select the wanted image and choose the options 'Object' then 'Fitting' then select 'Fitting Content to Frame' so that it fits perfectly.
 |
| Overlapping Text |
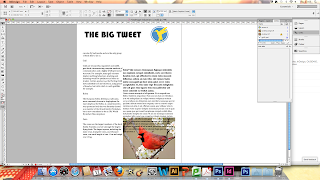
There may be the need to have overlap images over text if it adds to the aesthetic needs of the document you are producing. In order to overlap the frames, you can select 'Object' then 'Arrange' which can send the image to the front of behind.
 |
| Preview of Printing Page |
A way of being able to see the actual appearance of the document when it is printed is by using the shortcut 'w' which will show a preview version of your document without any extras surrounding it.
Text Wrap
Sometimes, in order to produce an interesting editorial layout, you can fit text around an image rather than having just rectangular columns for text.
 |
| Without Text Wrap |
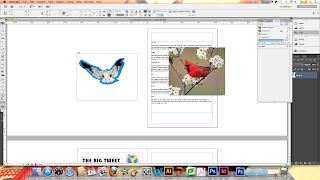
Images naturally obscure the text and the legibility of the body copy that is in effect.
 |
| With Text Wrap |
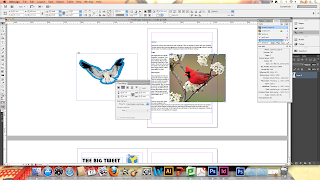
By selecting 'Window' and then the 'Text Wrap' option, the text wrap becomes a property of the image frame.
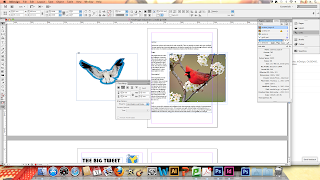 |
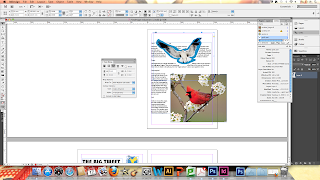
| Add Spacial Border around Image |
By selecting the option of 'Wrap Around Bounding Box', it allows for the text to surround the image so that it merges together.
 |
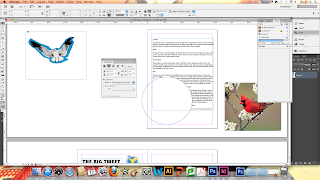
| Alpha Channel |
Its possible to create a border around the image which gives a neater, cleaner aesthetic. Using the 'Text Wrap' option, you can select the 'Wrap Around Object Shape' which will allow for the text to wrap around. By choosing the Contour Options, you can select how large you want the border around your text to be and by selecting the 'Alpha Channel', you can get rid of the areas around the edge, making the image more transparent.
 |
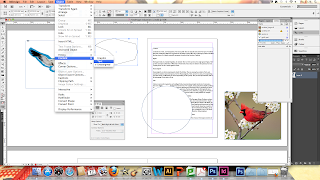
| Text Wrap Shapes |
You can create shapes for the text to go around by putting them in the text and using the 'Text Wrap' option.
 |
| Create Pen Tool Shape and include Content |
Its possible to create any frame shape you want using the 'Pen Tool'. Then by selecting ''Object', followed by 'Content' and then 'Text', you can drag the content into the shape and have text within the shape created.
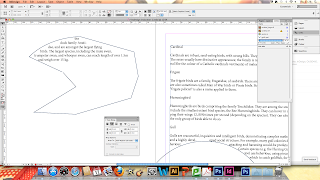 |
| Text Content in Pen Tool Shape |
By scrolling up and down the original text, you can add more or less text to be contained into the actual shape itself.
Colour Application
Colour is an important aspect of creating a InDesign document as you may need to have a full colour document produced. If you are using a consistent application of colour, you can use the 'Swatches' palette.
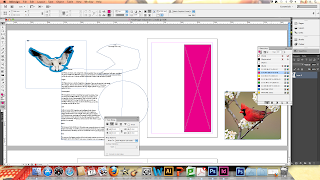 |
| Fill in Frame |
By creating a new frame or selecting the frame that you want to colour, you can use the 'fill' and 'stroke' options to colour in the outline of the frame or fill the whole frame in colour or both.
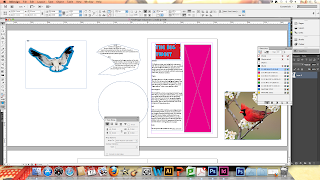 |
| Apply Colour To Text |
You can also apply colour to text within the frame by selecting the type and choosing a colour. The formal effects the colour so you need to select the 'Type' option to make sure it is the type and not the box you are trying to colour.
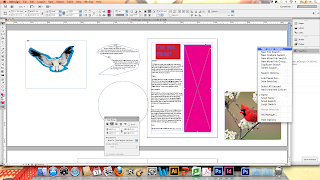 |
| Apply New Swatch |
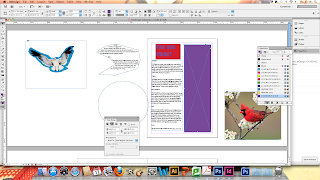
When you have your 'Swatch' you are given the standard CMYK colour range to choose from as colours. In order to create your own new swatch colour options, use the top icon on the 'Swatch' itself and select 'New Colour Swatch'. From this, you can set your own colour values from the CMYK colour range and produce colours of your own.
 |
| Applying New Colour Swatch |
Once it has been created, it will become part of your colour 'Swatch' so you can apply it like the other colours previously.
Printing/ Saving as a PDF
So that you can supply your client with either a hard copy or a digital copy, it is important to know how to turn your document into a PDF or print it.
 |
| Saving as PDF |
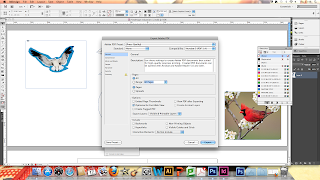
To send as a PDF, select 'File' and then the 'Adobe PDF Presents..' option. You can select from either 3 quality options. 'Press Quality' which is the highest quality of industry standard, 'Smallest File Size' which looks great on screen but would not be used to print with and then 'High Quality Print' which is the halfway point between the two. When you save it, it will present itself in the way you would see it as a 'Preview' option.
 |
| Printing Settings |
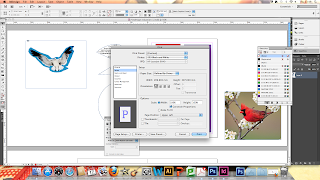
In regards to printing, you just use the standard procedure for how you would normally print something except you must make sure to choose the right paper size for the product you have made.


No comments:
Post a Comment