Session 2: Photoshop and Colour Modes
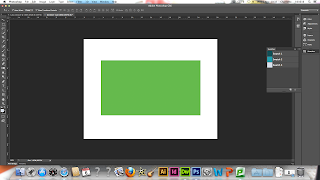
Whenever you open an image or scan it, it is automatically in RGB as that is the Default Colour Mode for Photoshop. Uf you have a look on the Filter Menu, some options are not available on a CMYK Image highlighting how RGB is the preferred option.
 |
| RGB and CMYK |
When making work, you need to be careful as to the Colour Mode you are using as the colour in one mode may change in a different mode. The Tab or Title Bar of every Image tells you the Colour Mode. It can be changed in the 'Image-Mode' Drop Down menu. For Commercial Print, you need to use CMYK.
Gamut Warning:
 |
| Gamut Warning |
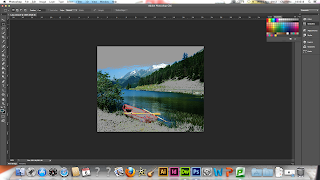
There are colours in the RGB Colour Mode that cannot be produced in CMYK. This is referred to as the Colour Range or Colour Gamut. The RGB Colour Gamut is greater than the CMYK Colour Gamut. The Gamut warning is a Silver Overlay over an RGB Image which highlights the Colours which are going to shift when turned into a CYMK Image.
 |
| Hue Saturation |
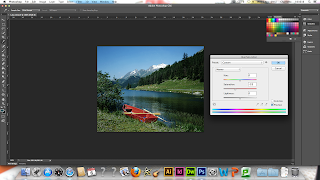
You can change the Image in a controlled conversion of the colours by Changing the Levels. Using 'Image- Adjustments and Hue and Saturation', you can desaturate the colours to allow for the colours to be seen how they would if they were being printed. Another option would be to do this in Adjustment Layers which would allow you to select the areas you need to change (Selective Application).
 |
| Proof Colours |
So that you can proof the colours before you print, you can use the Proof Colours option which will allow you to work in RGB but lets you see the colours in CMYK so you get the best of both worlds. To make sure this works, look at the options in the Proof Set-Up section to make sure it is working in CMYK and look at the tab at the top to see if it says (RGB/CMYK) so that both options are showing.
Working with Colour Swatches for Process Colours:
 |
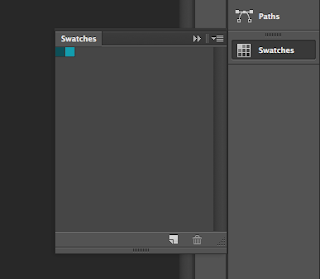
| Delete a Swatch |
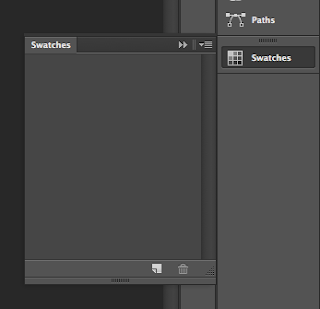
To delete a Swatch, hover over the first top corner colour and press 'Alt'- keep clicking until they are gone.
 |
| Saving and Replacing a Colour Palette |
Save this empty palette with just 1 colour in it so that you are continually able to reuse this. The one colour left should be the colour of the foreground of the image. Reset the palette and 'Replace Swatches' so that it can be used.
 |
| Working With Colour Swatches and Process Colours |
When selecting colours in the Colour Picker, The Box icon means it is a Web-safe colour whereas the Danger Triangle sign means it is out of Gamut and impossible to print. When the colour has been chosen, you add it to the swatch by clicking in the empty bit of the Swatch.
Spot Colours in Photoshop:
 |
| Spot Colour Libraries |
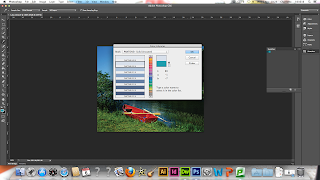
Using Spot Colours in Photoshop allows for accuracy as the colour may be specified by a client or it may provide a cheaper printing option. To access Spot Colours, use the colour picker and select the 'Colour Libraries' option which gives you the chance to look at Pantone Colour Books for the correct corresponding colour. Type the number of the Pantone Colour Reference and it will find it for you.
However, Spot Colours need an identifiable reference number whereas Photoshop doesn't give you that. This is because PHOTOSHOP DOCUMENTS CAN ONLY SUPPORT 1 COLOUR MODE.
Monotone and Duotone:
A Greyscale image only requires 1 ink. Before trying to turn an image into a Duotone image, it must be made Greyscale first.
 |
| Select Spot Colours for Monotone |
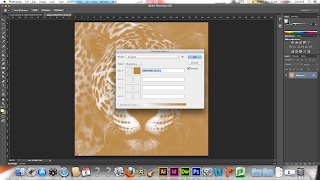
Having an image Monotone is part of the Duotone options where it allows you to select a specific Spot Colour. by clicking on the coloured square, it brings up the Colour Picker which, from there you can go to the Colour Libraries, type in your Spot Colour which you can select and approve.
 |
| MonoTone |
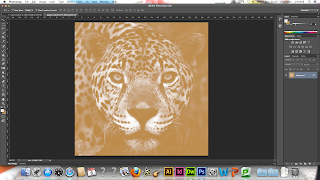
The use of the 'Duotone Curve' shows the exact mapping of your new ink colour to your old ink colour. On this graph, Greyscale is at the bottom showing the values of the black against the values of the colour. The more the Curve moves up, the value of the colour is darkened whereas the more the curve moves down, the value of the colour is lighter and saturated. The colour is then successfully applied to the image. This is a way which you can change the Brightness and Contrast of your image.
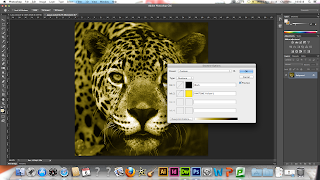 |
| DuoTone |
Duotone is similar to Monotone except it gives you the option of using a second colour. By editing the Curves, they can be applied custom over the shadows and lights.
 |
| Preset Duotone |
It is possible to create the same effect by using the Preset Colours available.
You can use the Tritone and Quadtone options which would make effective visuals but can make a print job become expensive.
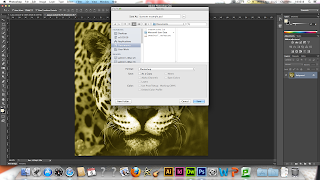 |
| Saving Image |
When you are saving your file, you need to make sure that your colour choices are safe by saving them in a Photoshop File as it is the only file which will support the Duotone Format.
Channels:
The main purpose for Channels is for Colours. Every Photoshop image has Channels as it is the way that Photoshop stores information about colour of an image. Channels reflect the colour made and show how Inks are going to be applied.
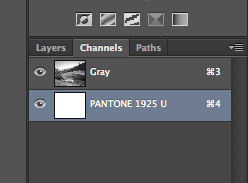 |
| Create a New Spot Colour |
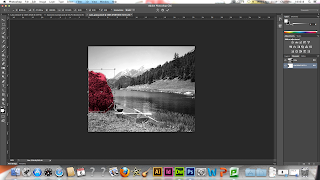
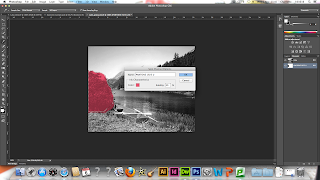
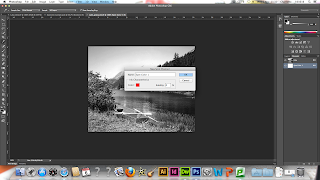
In order to make a new Spot Colour, you can open a New Spot Channel which will give you the option of selecting a Spot Colour and adding it to the Swatch of Colours being used.
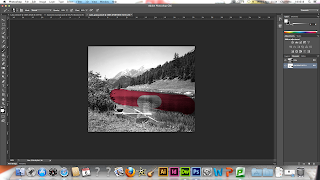 |
| Paint Brush Tool |
You can then physically apply the colour by using the Paint Tool or press 'X' and paint off the applied colour.
 |
| Quick Selection Tool |
Alternatively, you can use the Quick Selection Tool to select an area and apply the Spot Colour.
 |
| Solidity |
Solidity simulates Inks in the Print Process and allows you to preview the transparency of an Ink. You can then save these and use them as Spot Varnish Colours. Make a new Spot Channel and choose your Spot Varnish Colour which can then be overprinted over each other.
 |
| Saving Spot Colour |
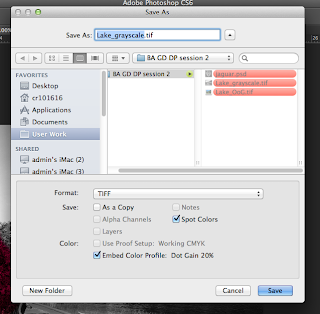
When saving, the Spot Colour Option must be Ticked as you must save as a Photoshop or TIFF File as they support it.
Overprint with Type:
 |
| Overprinting With Type |
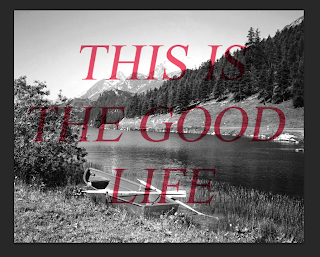
Make a new Spot Channel and Select your Typeface and write your Message. Place it where you want and it will Fill with Colour.




No comments:
Post a Comment