Software Induction Session 3:
Following on from last weeks session, we are going to continue with the Website we set up and produce the Content for it.
Roll-Over Buttons:
 |
| Making Buttons |
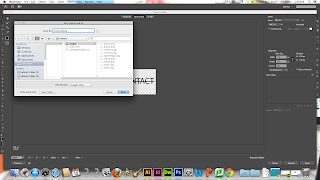
Like we did last session, we made the Buttons in Illustrator in an RGB file of the correct size and produced the normal button and roll-over button for it on a separate layer. Then I saved them individually for web as a PNG file in the 'images' folder of the Root Folder.
 |
| Div ID for the Rollover Button |
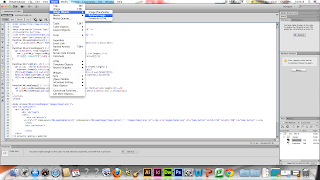
To add the buttons onto the HTML Sheet, start a new line underneath the original button and create a new Div ID, make a new empty line and then underneath that one, close the Div ID. On the empty line, go Insert, Image Objects and the RollOver Image.
 |
| Adding Rollover Buttons |
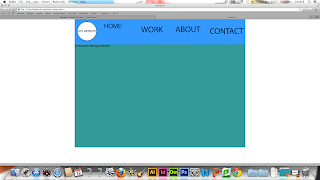
Within the accompanying box, find both the original image and the roll over image giving it a name which can be used to say what its use is. The Div ID Closing can be found at the end of the whole coding sentence so it is an idea to press Return to get it onto its own line. Save the HTML Document and check on the Internet Browser. You then do this repetitively for each button until they each are part of the navigation bar. Mine came out as being different sizes along the navigation bar yet this would be due to how they are made in Illustrator. The navigation should remain constant throughout with same sized buttons as this improve the user experience. To change this, make sure you have enough time to make sure they are all the same size and in the same place when being produced.
 |
| Creating/ Saving Separate Pages |
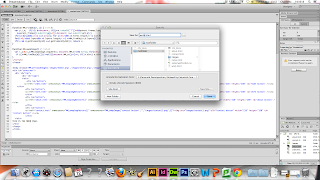
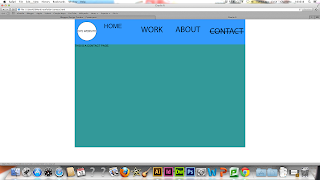
When creating separate Webpages to link together, you can use the Code View of the HTML file to make the pages. Where the JAVA Script has been added to the buttons to make them roll over, the Code starts off with the term <a href='#'. This means that it will link to something else and the hashtag means that the inside of it is empty meaning that you can add the page in there. For every button name, delete the hashtag and write the button name.html within the speech marks. Then where the body of the text is, change it to say which page it is for and 'Save As' into the Root Folder.
 |
| Separate Web Pages |
Do this for every button so it has a corresponding page and refresh your Internet Browser so you can check to see if it has worked.
Wire Frame and Box Model:
 |
| Wire Frame |
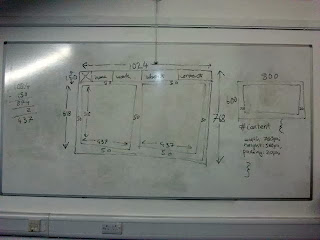
In order to prepare to add content to the site, we need to decide on the layout of our site. As a class, we produced a Wire Frame of our website which is basically a visual diagram showing all of the measurements of our website in pixels. This is good to produce for any website you make as you will have already worked out the sizes of everything and know it will work before you create it. Before deciding on the sizes, we need to consider a Box Model of the site.
A Box Model is for when you are dividing up a Div ID Container and need to consider the measurements of columns/contents within it. There are 4 areas that this is split up into; A Margin, A Border, Padding and Content. When you have decided on the width of your content area, you have to take into account the spacing for the other 3 sections before settling on the sizing.
 |
| Adding Columns |
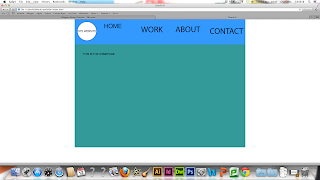
The class decided that they would have the Margin/Gutter as 50 Pixels but with having 2 columns, it would mean that the middle would be overlapping so the opposing sides had to be 25 pixels in size instead, e.g.. Right Column on Left Side is 25 pixels. We imputed the sizing into the CSS 'Style Sheet' making sure to put the Position of the Columns as relative so they were fixed. In the HTML File, the columns need to be within the container and have both the right and left columns separately imputed. Save the file and refresh your Internet Browser to see if it has worked. We didm;t add any colour to our columns so you can't physically see the change but the text has moved and become indented indicating the columns existence.
Adding Text:
 |
| Adding Loren Ipsum Body Copy Text |
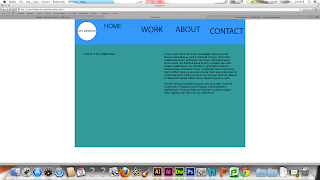
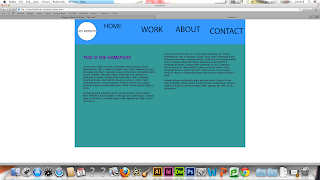
When there is no set Body Copy for a Website, you can use the Latin text Loren Ipsum to add some copy to see how the website will look. We specified for it to be of 110 words and 2 paragraphs long which was then copied and pasted in-between the code for the Right Hand Column so the software knows it is to go inside. You can separate the paragraphs by using the code <p> to create an indented, defined separation between the paragraphs.
 |
| Developing Copy |
You can add a heading by using the code <h1> within the CSS 'Style Sheet' and giving it a defined style, size and colour to make it stand out on the page from the rest of the Copy. Save this and then apply the code to the text you wish to use as a header. By using the code <br> in-between the Header and the main paragraph, you can add a Break which will give a gap in-between the Header and Body Copy. Save all and refresh your Web Browser to make sure it worked.
Adding Images:
 |
| Saving Image For Web |
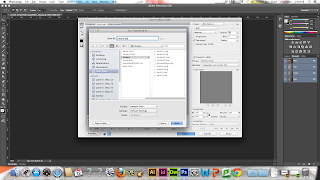
We got an image from the Internet just to see how to put an image onto our website. We put the image into Photoshop where we edited the Photo by going into Image and Image Size. The Photo needs to be of 72ppi Resolution with the same Width as the Column but the Height can be the same as the Column or lower. Make sure that the option for the Image to be Constrained is ticked as this allows for the image to be compressed and made smaller. After making these adjustments, go to File and Save for Web where you can save the image as a JPEG. You need to make sure the Image Quality is as small as you can make it without the image distorting or pixelating so that the file size is smaller as an Image of 1Megabyte or higher is too big, making it difficult to load on the site.
 |
| Image onto Website |
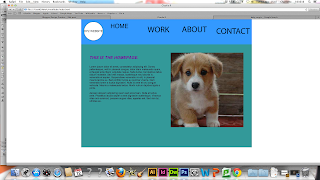
Within the Dreamweaver HTML File, go to in-between the column you want and select Insert and Image where you can get the Image from the 'Images' file in the Root Folder. save and refresh the Internet Browser to make sure it worked.
Adding Video, Audio and Images:
 |
| Vimeo.com |
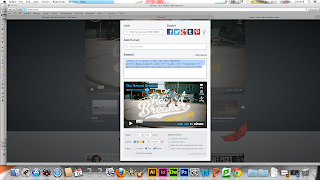
Using Vimeo, you can stream videos from your Website without having to use all of your Websites bandwidth and the fact that it streams from Vimeo means that the audience doesn't have to wait for the video to buffer or load. When you upload your videos to Vimeo, you can share your Video and embed the link into your Website code.
 |
| Soundcloud |
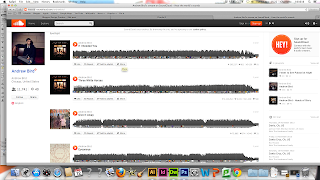
Soundcloud allows you to share and embed audio clips into your website by sharing the audio clip.
 |
| Lightbox |
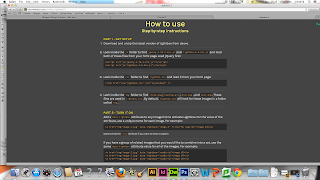
Lightbox is a way to put images up and customise them to create your own interface in regards to how they are presented.
THE MAIN PREPARATORY WORK IS WHAT TAKES UP THE MOST TIME. THE PLANNING NEEDS TO BE DONE IN ADVANCE.


No comments:
Post a Comment